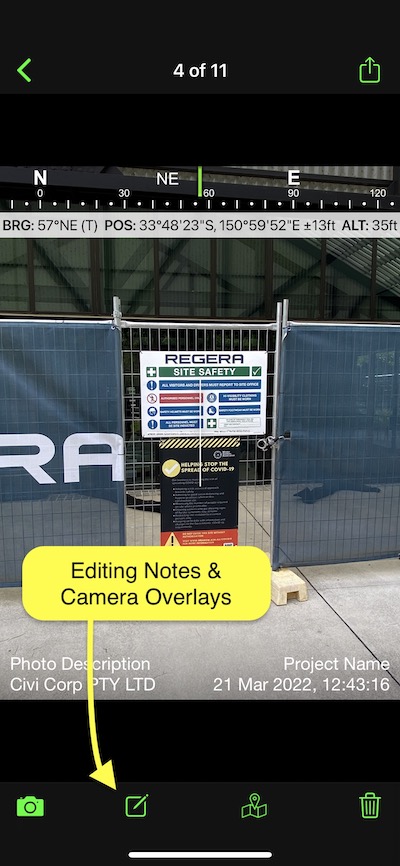
Editing Notes & Camera Overlays for an Individual Photo
- Tap onto a single photo from the Solocator photo library to view.
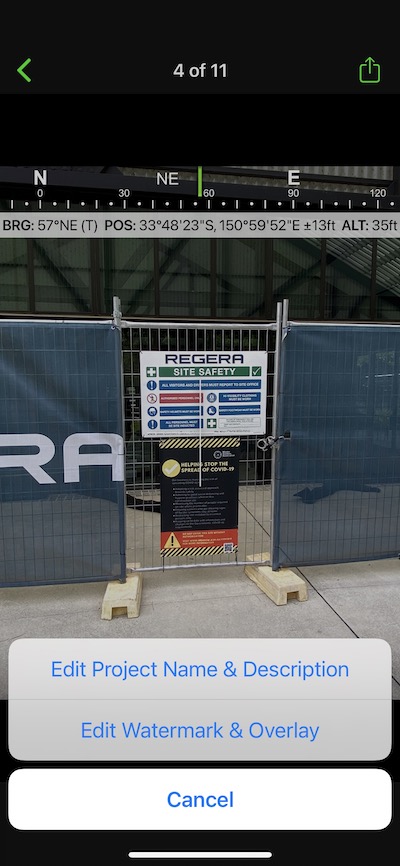
- Tap the pencil edit button in the bottom taskbar, which will open two options to select from to amend or remove the below options:
- Edit Project Name & Description
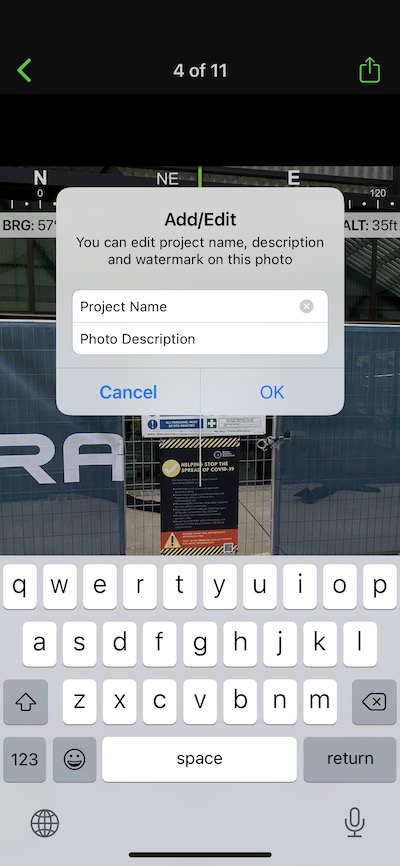
This will open the Project Name & Description fields to enter or edit already entered text when you first took the photo—once updated, tap on “OK” to commit the text changes and return to the photo. - Edit watermark field & Overlay
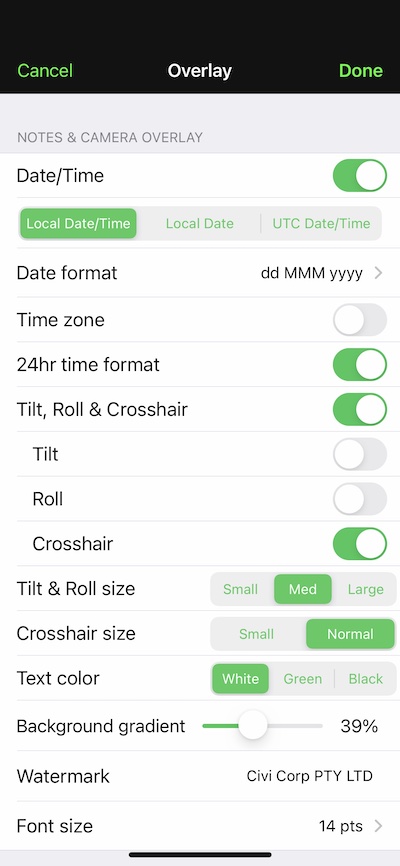
This selection opens the Notes & Camera Overlay section (only) from Solocator Settings.
You can enter or edit already entered text in the Watermark field or change text, roll/tilt/crosshair, date/time colour. Also, on this screen, you can change the date/time format, time zone, and font size and add or change the background gradient opacity—tap on “Done” to confirm the changes and go back to the photo to see the changes.
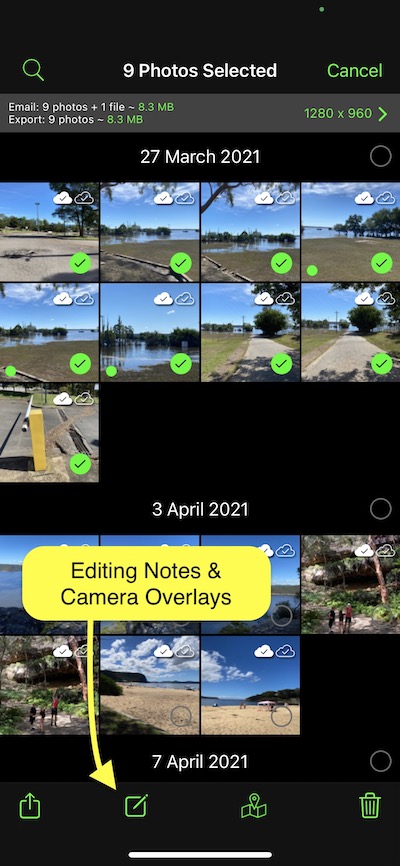
Batch Editing for Multiple Photos
In the photo library, tap the “Select” button (top right) and then tap onto the photo thumbnails that you wish to edit the overlays. After selecting photo thumbnails, the pencil edit button will appear in the bottom taskbar. Tap the button and follow the steps above to edit the required Notes or Camera overlays. Changes made and confirmed will update all selected photos with the changes.