Autosave Photos to Cloud Storage
iOS users using Solocator Industry Pack have been able to autosave photos to the below cloud storage services. In this “How To”, we show the steps in setting up to autosave photos with the number of options available for yourself and your team to select.
- iCloud
- Dropbox
- Google Drive
- OneDrive (Personal)
- OneDrive for Business – New in v2.14. See How to autosave to OneDrive, SharePoint & Teams.
The Steps
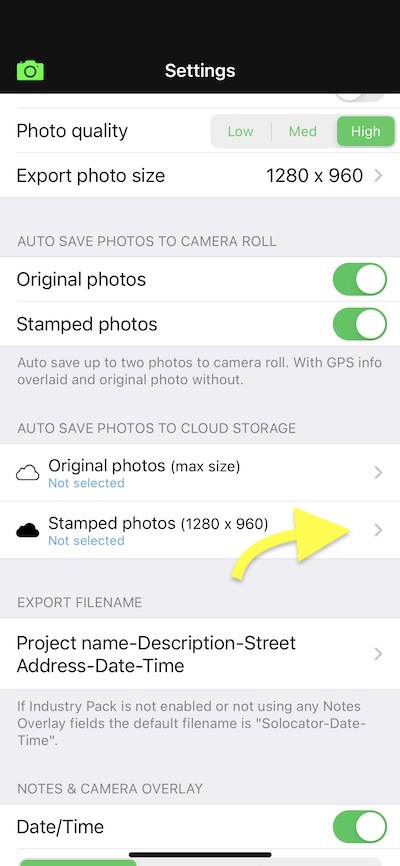
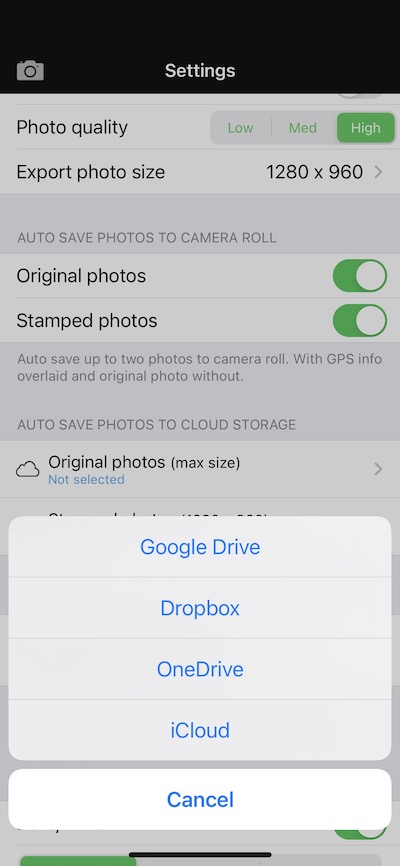
- Settings – Go to the Solocator settings screen and scroll down to the Autosave photos to cloud storage.
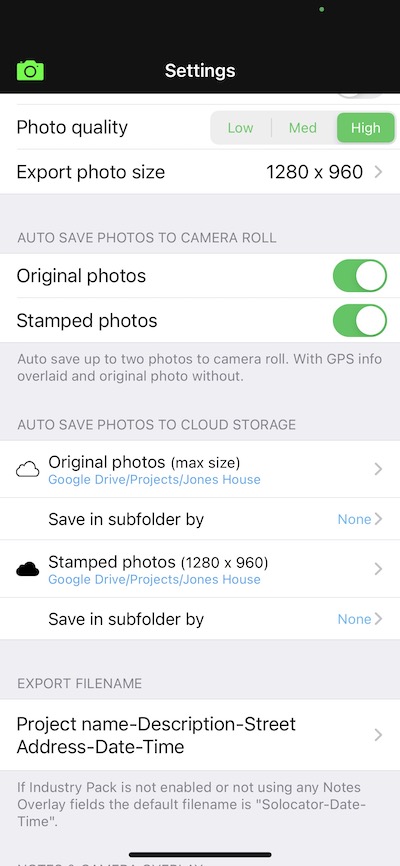
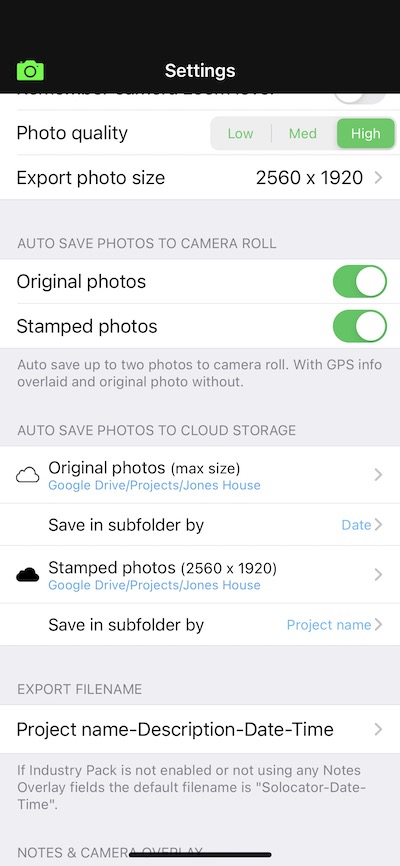
- Photo Type – You can autosave two photos; the Original photo (with no overlays) at the highest resolution and a Stamped photo with the selected overlays you see in the camera. Also highlighted is the current chosen export photo size, which can be changed.
- Cloud Service – After tapping either type of photo to autosave, select the cloud storage service.
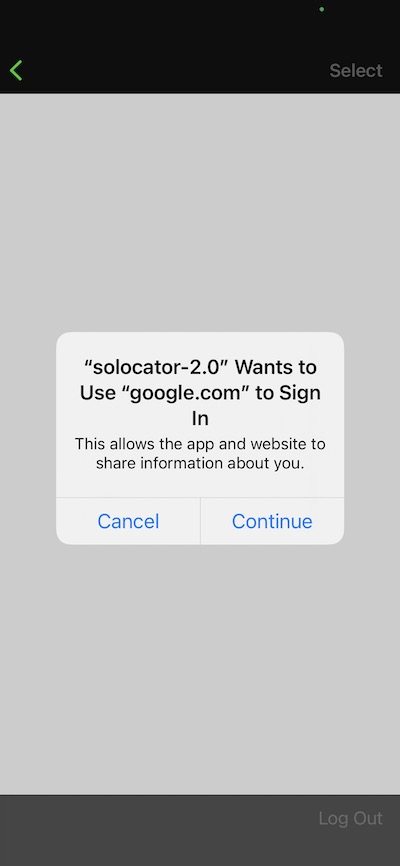
- Sign In – You will be prompted to sign in to the selected cloud services if it’s the first time you’re signing in via Solocator.
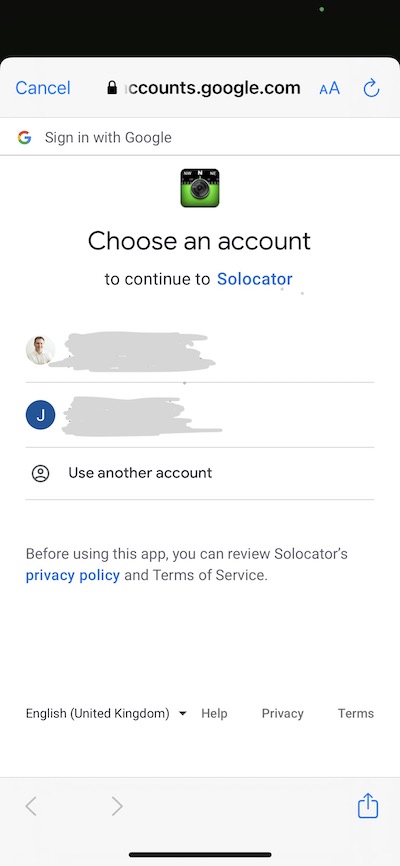
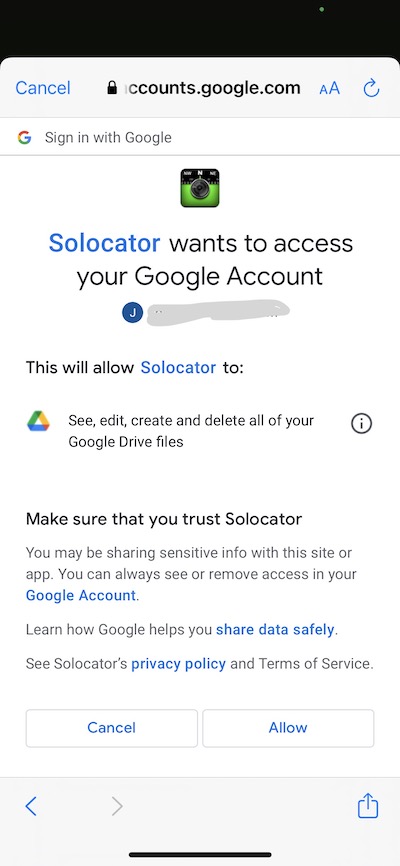
- Permission & Select Account – Next, you will be prompted to give permission for Solocator to save photos to your folder or create new folders in the select cloud storage service. If you have more than one user account for the cloud service or type of account (personal or business), please select and sign in with your user account.
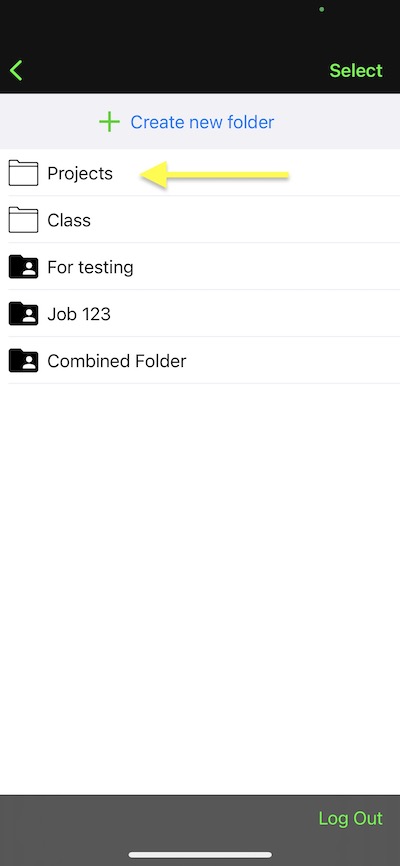
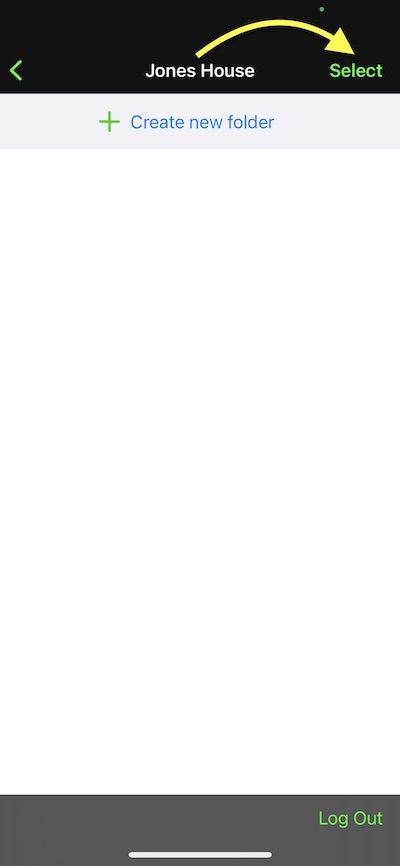
- Select Destination Folder – After signing in, select either an existing folder, a shared folder or create a new folder where you wish your Solocator photos to be saved. To select a folder, tap onto the folder after the screen has refreshed (the spinning wheel has finished) and tap the “Select” button (top right). The file path to the folder has now been selected.
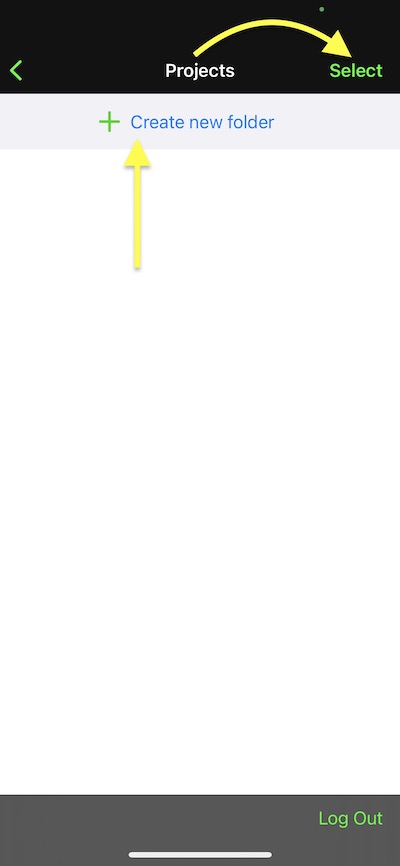
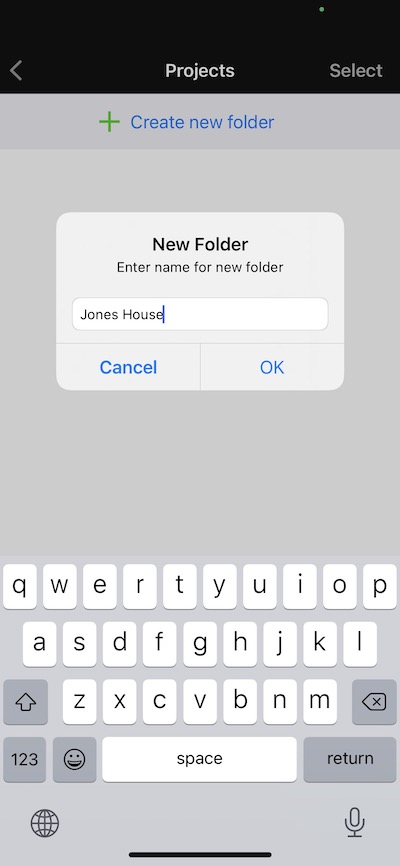
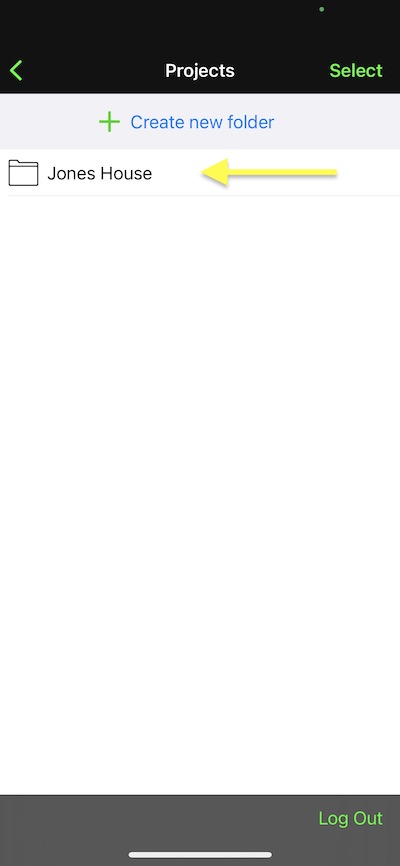
- Create a new folder – To create a new folder, tap the “+ Create new folder” button and type in the name in the pop-up field. The new folder will be created in the drive or folder that is shown just above the under the “+ Create new folder” button.
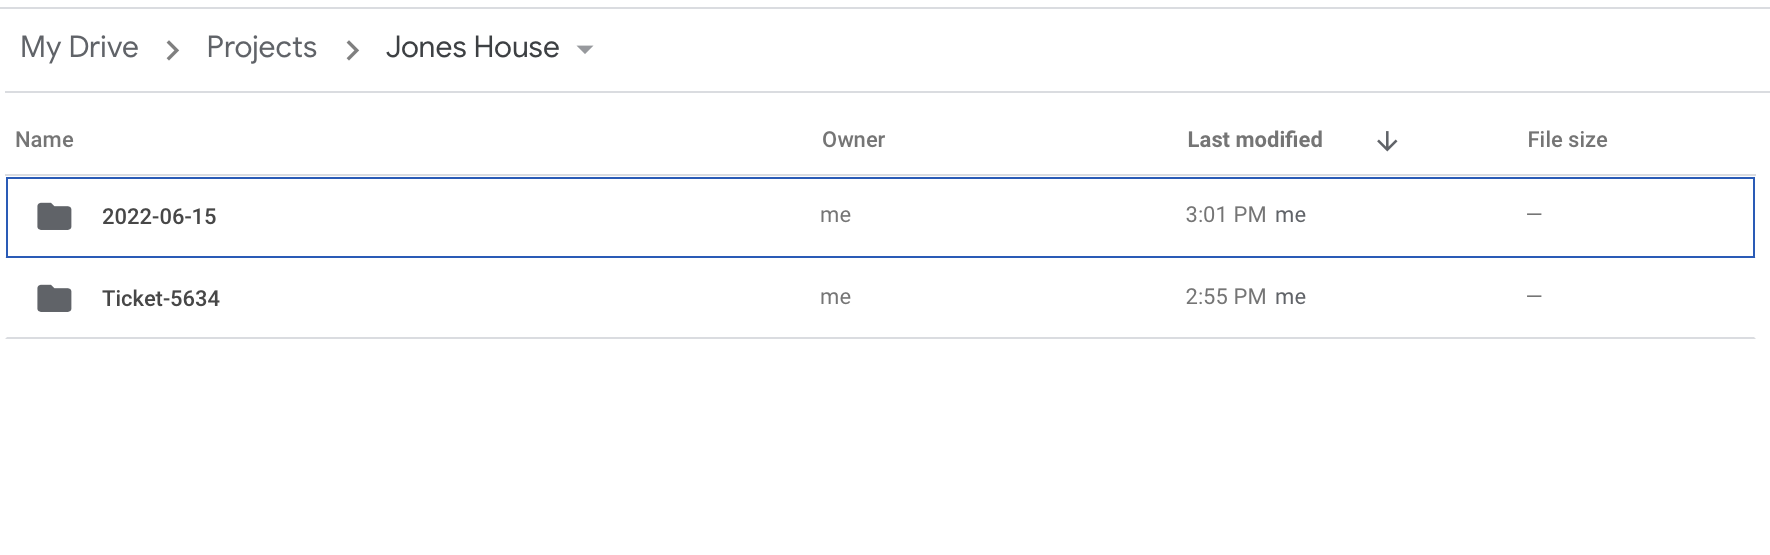
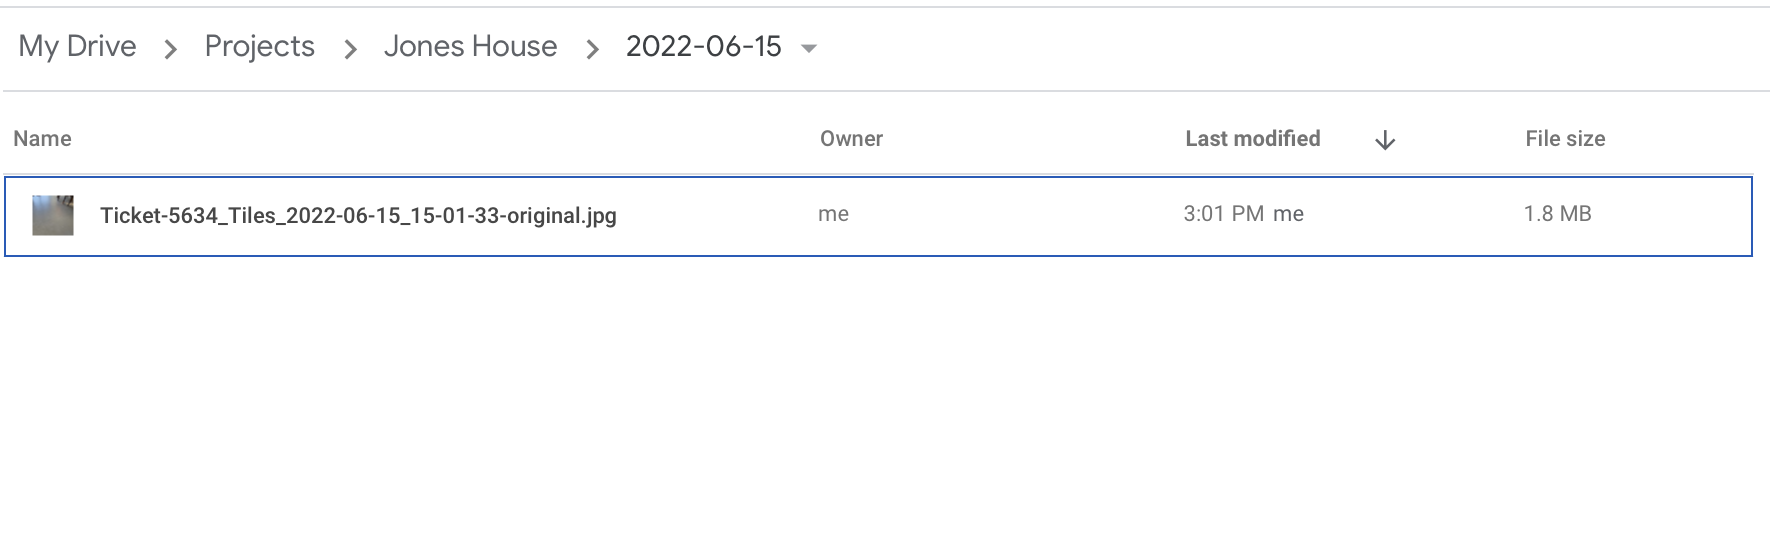
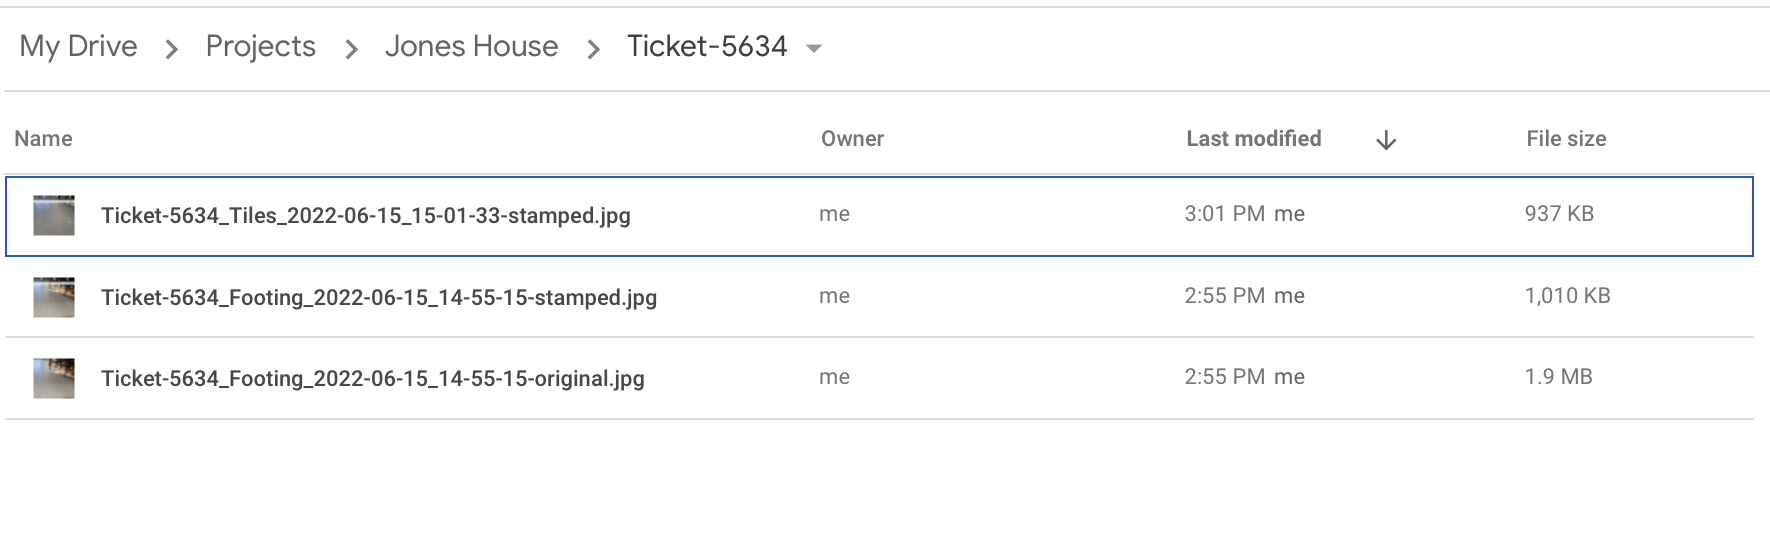
- Project Name & Date Subfolders – Under each type of photo file path destination, you can also select to save photos into subfolders that are auto-created by either the Project name used on the photos or the date the photos were taken. If autosaving both types of photos into one folder, a suffix is added to the filename of each photo; “Filename-original.jpg” and “Filename-stamped.jpg”.
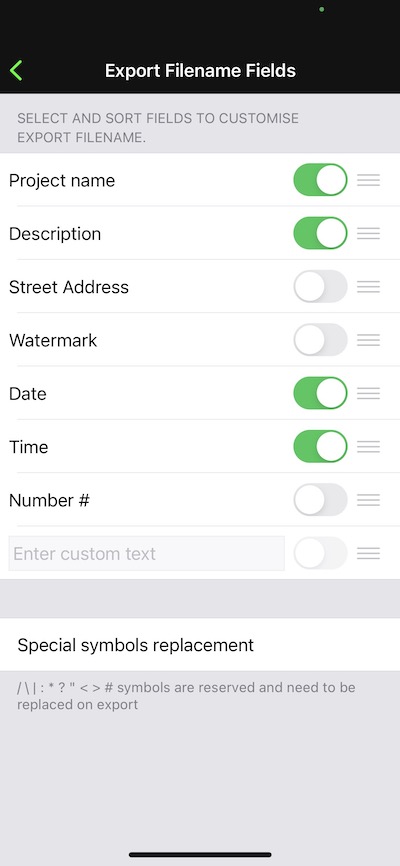
- Check These – Now you’re ready to autosave photos to your selected cloud storage service, but before taking photos, check that you have chosen your required filename structure and photo size/quality.
- Change User Account – If you need to change your user account, i.e. between personal and business, tap on the “Log Out” button (bottom right) when viewing your cloud storage folders. This will prompt you to sign in again as per step 4 above.
App Screen Shots


Cloud Folder Screen Shots